
In our last post Faith gave a rundown of the new admin navigation interface, and now I'm here to share some of the great new functionality that it offers.
Hopefully we can all agree that the new navigation looks really slick, but it wasn't introduced as a mere facelift. The new navigation was designed to offer you much more versatility and functionality than the classic nav was able to, helping you navigate the ins and outs of your events. Here are 5 things you can do from the entries list on the new navigation that you might not have known about:- Filter your attendee and entries screens
- Send emails & text messages
- Apply Member Types
- Add, sort & move columns
- Export views as reports
1. How to filter information:
Why might you want to filter information? Well, let’s say you need to send an email out to a select group of event attendees, but not all of your attendees. In this instance, lets say we want to send an email to those participating in Group 1.
Begin by locating the Filter button within your entries screen. Click this button to access all of your available filerts, select "Group" to access all of your run groups, and then select the run group that you would like to isolate. From there, you can apply the methods below to send an email blast to those attendees only, or simply to see how many attendees you have in that particular group.


2. Sending Emails & Text Messages:
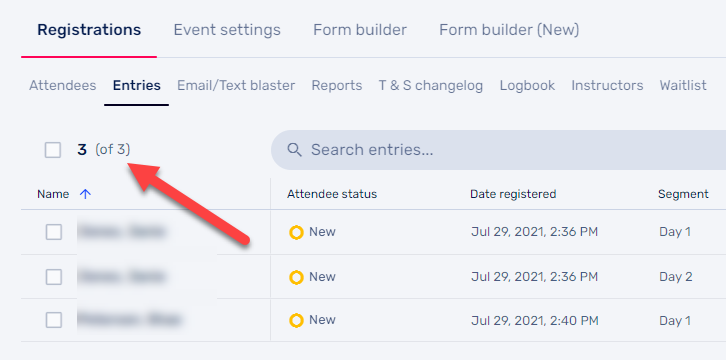
Sending emails or text messages from the new navigation is a snap. Start on either your event's Entries or Attendees screen and apply any filters you'd like to ensure you have the correct list of people selected. On the top left of the screen, you will see the number of total entries who meet your filter criteria, with a check box to the left of the total:
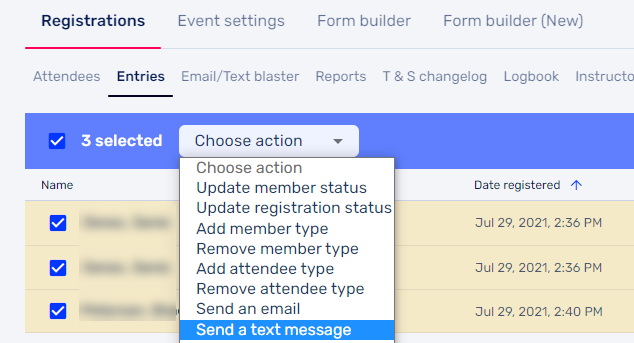
When you check that box, you will be provided with several different possible actions that can be applies to the group - including "Send an email" and "Send a text message". Select the action that you'd like to take with your filtered list, and enjoy the efficiency provided by this batch action functionality.
3. Applying member types in bulk:
First, let's talk about why you might want to do this. Let’s say you hosted an event, and upon completion of the event you would like to designate all attendees with a Member Type that indicates their experience level so that you can apply a member types validation to your next event, limiting the package options available to these participants on their next event registration. In this instance, I want to apply the "Novice" Member type to everyone who participated in group 1.
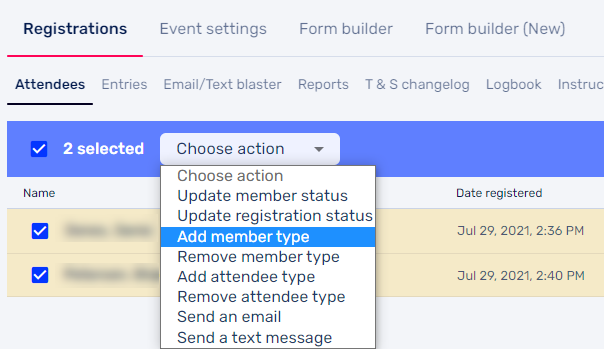
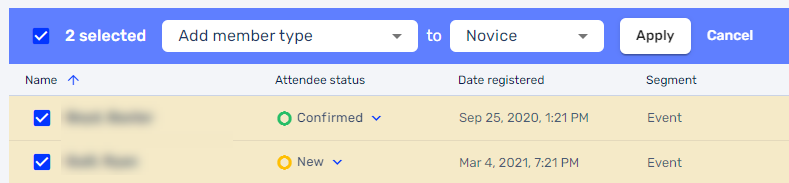
Step1: Using the filter options outlined above, I'll select all of my "Group 1" entries and the check the box to select all. I'll then choose the action "Add member type", and apply member type "Novice" to all who were in "Group 1"
(A note regarding member types: You can add up to 28 custom member types within your account, but do NOT remove the default attendee type. A number of basic functions are triggered by that member type and it will create unexpected and undesired results if removed. )
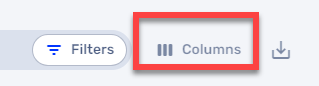
4. Adding, removing, sorting & ordering columns:
The new navigation is highly customizable. You can now set up your Entries screen with the information you want to view. By selecting the "Columns" option, you'll be able to add and remove any available columns to your screen, ensuring the most relevant information is viewable while others fields are hidden.
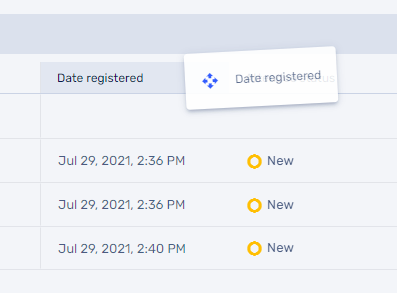
Once you have all of the fields you'd like viewable selected and shown as columns, click and hold the column name to rearrange the order in which they are shown on your screen. In this instance, I'm clicking on "Date registered" to move it on my screen.
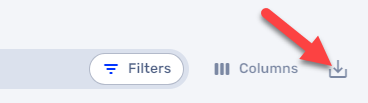
5. Exporting Information
Now that you have the your available fields ordered the way you'd like them, you can export this information as shown to excel to print out reports. A great option for those events where you know internet access could be challenging to come by onsite on event day. Simply click the "export" icon next to "Columns" to be presented with a variety of export formats.
The possibilities with this new navigation are seemingly endless, and we plan to continue introducing new features to these screens to help your team. Play around with them, and be sure to let us know what additional functionality your team would find useful and like to see added to the new navigation interface!