MSR offers many features that can help streamline your event setup process. To help you get the most out of the platform, we will begin posting educational materials on various topics, starting with the differences between branches and groups on your registration forms and how to use them.
Classic Form Builder
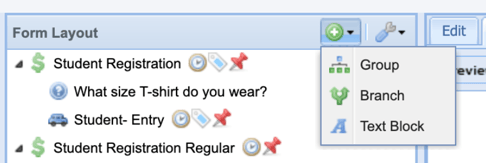
You can use groups or branches to control your attendees' selections. You can add it by clicking the + icon above the form layout as shown below.
Groups
Allows only one option to be selected. You can identify a Group in the form layout by the icon shown in the screenshot above.
How to Use a Group
-
Use groups to enforce a choice between options.
-
Chose one of the following and other options will disappear once chosen.
-
For example, limit one entry choice per driver.

Branches
-
Allow multiple items to be selected that are nested beneath it.
-
You can identify a Branch in the form layout by the icon shown in the screenshot above.
How to Use a Branch:
-
Use branches to select an amount in any combination of the following.
-
For example, you can chose multiple sizes of multiple different t-shirts.

Video Example of building an event, utilizing Groups and Branches:
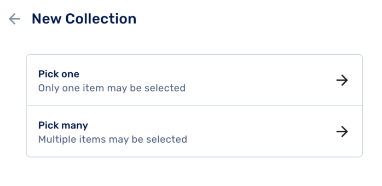
New Form Builder
These options are already described as "pick one" or "pick many" and can be added from the parts bin.
We recommend that you take some time to go through our educational materials, which include video tutorials and organizer guides. You can also view our help for attendees. These resources can provide you with valuable insights and tips on how to use the platform effectively and efficiently.